A few months ago I finished my double degree in Law and Psychology (with First Class Honours). Don’t think for a second that it was easy for me to do. It took me eight years and every assignment/exam was a hard slog. Every step of the way was a challenge.
When I received my graduation certificate I thought to myself:
“How did I do it? What helped me get through the past eight years of study?”
One thing automatically sprung to my mind . . .
Anything that I had to learn at university, I created a mind map. Why? Because rote learning no longer worked at Law school. For my legal units I had to really understand the information. Mind mapping it all out allowed me to do this.
Interestingly, a few weeks ago someone sent me this question:
“I know the mind maps with a main idea on each branch can give a great review of the most essential ideas but the point is that law is full of data, definitions and I’m not sure how to present them . . . so could you share with us some of your legal masterpieces?”
I would hardly call my mind maps ‘legal masterpieces’ but I’m happy to share them with everyone if it will help to break the illusion that legal mind maps need to be works of art or look a certain way.
Unlike my legal mind maps, the mind maps on this site contain very few words. In a perfect world, this is how all mind maps would be. Tony Buzan states in his book How to Mind Map:
“Use one key word per line. Why? Because single key words give your mind map more power and flexibility. Each single word or image is like a multiplier, generating its own special array of associations and connections . . . Phrases or sentences dampen this triggering effect.”
In theory, I really like this idea. But when it comes to the reality of studying several subjects at university and having a heavy workload, I just don’t think many of us would feel totally confident creating mind maps with only one keyword word per line. For myself, I fear when it comes time to revise, there may not be much triggering action occurring (and instead just a whole heap of confusion and stress!).
Let me show you one of the mind maps I did for my favourite legal unit, International Environmental Law . . .
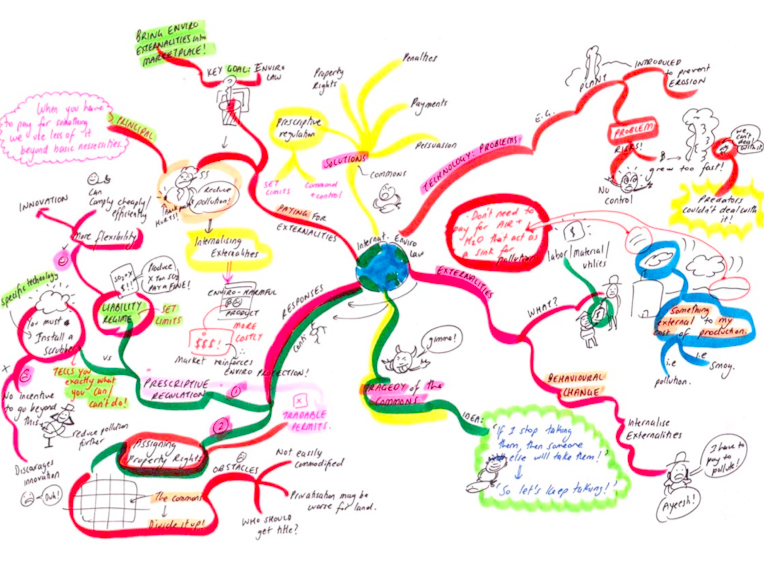
You’ll notice I haven’t stuck strictly to Tony Buzan’s advice of writing one key word per line.
I believe that for subjects that require you to learn large amounts of complex information in a short space of time you want to put down important points of law (in more than one word) and perhaps even write whole definitions.
If you feel the need to write out a definition on your mind map, make sure that you break it down into pictures (the more personalised, humorous and exaggerated the better).
Once you’ve completed your detailed mind maps for a subject (and you may have dozens), it’s a good idea to create an overarching mind map that contains significantly less text. You want to do this on one big piece of A3 paper to bring together all the information, see connections between ideas and clarify things for yourself.
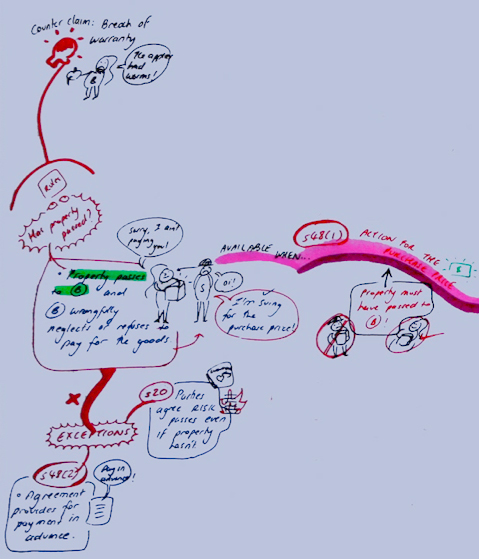
Mind maps will be your savior when it comes to understanding confusing and/or complex legislation. Often statutory laws are worded in convoluted ways and have a lot of exceptions. In order to fully understand these laws, I found I had to break down each law into different parts using pictures and different coloured pens.

For example, section 48(1) of the Sale of Goods Act 1895 states:
48 Action for price
(1) Where, under a contract of sale, the property in the goods has passed to the buyer, and the buyer wrongfully neglects or refuses to pay for the goods according to the terms of the contract, the seller may maintain an action against him for the price of the goods.
This is how I broke down section 48(1) using pictures and different coloured pens:
It’s very easy to get overwhelmed by hypothetical legal problems that our lecturers throw at us. In order to decrease my stress levels and get clear on the facts of the scenario, I would always mind map out assignment questions.

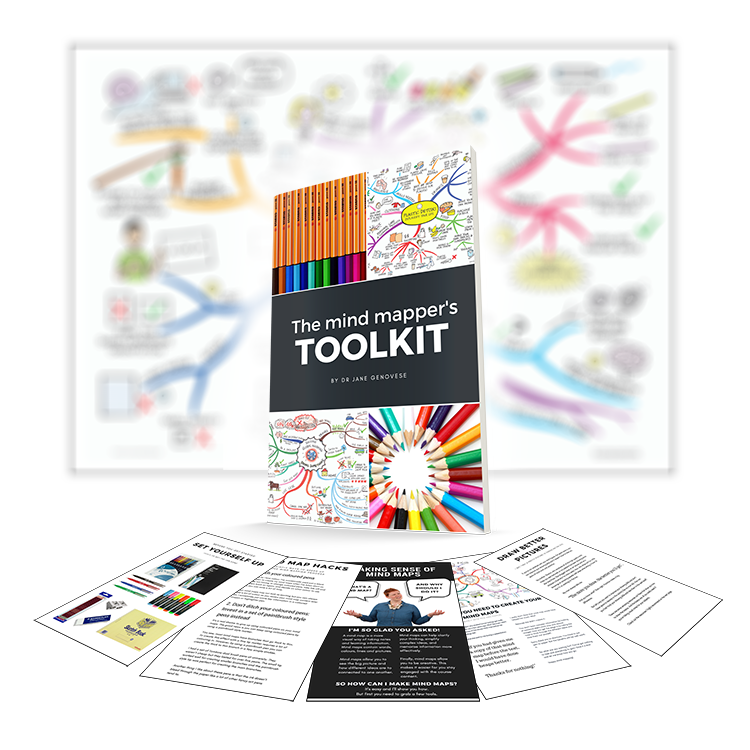
If you are new to mind mapping and not so sure how to go about creating mind maps, I recommend that you check out my free Mind Mapper’s Toolkit. You can download a copy here.
Mind maps are a great tool to help you through law school or any complex subject area. When you first start mind mapping, don’t expect to be great at it. Like anything, it takes practice.
Finally, please don’t put too much pressure on yourself to create beautiful works of art. Messy mind maps are better than no mind maps if they help you understand your subject area.
When you start using this strategy, it can feel clunky and awkward. It requires some mental effort to get going.
Why can it feel hard to start mind mapping?
Because it isn’t a habit (not yet, anyway). But once mind mapping becomes a habit, it can feel easy and deeply rewarding.
So, how do you get to that point where mind mapping feels easy? Even fun?
In this article, I will explore how you can create a habit of mind mapping. I’ll show you how to remove friction or pain points so it’s much easier to put pen to paper and absorb ideas.
Let’s start by looking at what gets in the way and stops many people from creating mind maps in the first place. I’ll also share some strategies you can use to overcome each of these barriers.

When you look at a mind map with all the pictures and different colours, it seems like something that would take a fair amount of time and effort to create.
If you’re comparing mind mapping to the time it takes to read your book passively, then yes, mind mapping will take more time. But you need to understand that reading your book passively is not an effective way to learn. In contrast, mind mapping is super effective.
People often fall into the trap of trying to make their mind maps look like works of art. Try lowering your standards and allowing yourself to make a mess when you mind map. This will speed up the process.
Another time trap is trying to mind map as you read and trying to mind map everything you read. I find it’s much faster to read and tab key ideas worth mind mapping later on. Once I’ve finished reading either the chapter or book, I then commence the mind mapping process. By this stage, I have a better understanding of the key ideas and what’s worth mind mapping.
Some people get hung up on the way their mind maps look. They can’t stand looking at messy pictures and scribbled words. If that’s you, perhaps you could take your drawing skills to the next level with some practice and sketch classes. But it’s not necessary.
Mind maps are not there to look pretty. They are there to help you learn. I am a big fan of badly drawn mind maps. If you look at my mind maps from university, they’re not works of art but they contain loads of important ideas. And that’s what matters most when it comes to learning.
Here’s a simple hack: invest in a set of nice, vibrant coloured pens. A bit of colour on the page will make your mind maps more visually appealing.

Mind mapping is straightforward. You draw a central image, curved lines, a few pictures, and write down key ideas. That’s it!
It’s not something you need to read a book about. You don’t need to enrol in a 10 week program to learn how to do this.
If you want some tips on how to mind map, check out my free Mind Mapper’s Toolkit. It’s a quick and easy read.
It’s important to realise that the first time you engage in any new behaviour, it will most likely feel strange and uncomfortable. You may feel a bit clumsy and awkward. You may have questions, “Am I doing this right?”. All of this is normal and to be expected.
Even something as simple as the pen you mind map with can make or break the mind mapping process.
You’ve probably noticed that some pens don’t feel pleasant to write or draw with. For instance, I’m not a fan of the popular Sharpie pen range. I don’t like the way these pens bleed through the page. And I really don’t like the way they smell.
These may seem like minor irritations and quirks, but trust me, they’re not. Your mind mapping experience will be diminished by a pen that doesn’t feel good in your hand or on the page. And any behaviour that feels unpleasant is much harder to sustain.
I’ve since ditched my Sharpie pens. I mind map with a uniball signo pen and non-toxic Tombow paintbrush pens. As far as coloured pens go, I won’t lie, these pens are pricey! But you can find them online for $25 cheaper than in Officeworks (a big stationery store in Australia).
What I love about these pens is that they are super easy to use, feel lovely to strike across the page, and they won’t leave you with a splitting headache from the ink smell.
Here are some things that have helped me to establish this habit in my life:
When is the best time for you to mind map? Where in your day can you easily slot in a 15 minute mind mapping session?
I like to mind map when I feel fresh and mentally alert (first thing in the morning).
Find an activity that you do every day without fail (e.g., having a shower, eating breakfast or dinner) and use that to prompt you to start a mind mapping session.
For instance, after I have completed my morning routine (workout, breakfast and shower), that’s my cue to sit down and start mind mapping.
Before you start your session, set yourself up with everything you need to mind map. I like doing this the night before my morning mind mapping sessions.
Before I go to bed, I lay out a sheet of A3 paper, my pens, and my timer. The book I am mind mapping is open on the page where I need to start working. The next day, all I need to do is sit down, start my timer, pick up a pen, and away I go!

What’s one thing that can slow down the mind mapping process?
For me, it’s digital distractions (e.g., text messages and notifications).
You probably already know the things that tend to derail you. Create a barrier between you and those things.
For example, my phone is the biggest distraction for me. How do I deal with this? Before I start mind mapping, I take my phone and place it away from my body in another room.
This signals to my brain that my phone is off-limits and it’s time to knuckle down and focus on my work.

Don’t wait until you feel pumped and inspired to create a mind map. Set a timer for 10-15 minutes and start mind mapping (regardless of how you feel).
If you miss a day, don’t beat yourself up. It’s no big deal. Just say to yourself, “Tomorrow is a new day. I will get back into mind mapping then”.

When the timer goes off at the end of your mind mapping session, say to yourself, “Good job!”. Do anything that makes you feel instantly good. I often clap my hands or do a fist pump.
According to Professor BJ Fogg, the secret to wiring in any new habit is to release a positive emotion within milliseconds of engaging in the new behaviour. When you release positive emotions, this releases dopamine in your brain. This makes it more likely that you’ll engage in this behaviour again.

I mentioned this before, but it’s important to repeat it: don’t go cheap with your mind mapping tools. Invest in good pens and paper. My favourite pens for mind mapping are uniball signo pens (0.7 tip) and Tombow paintbrush pens. Regarding paper, I love using Rhodia paper (it feels like your mind mapping on butter).
It may sound a little dramatic, but mind mapping changed my life. I used to read books and then feel frustrated that I couldn’t retain much information. But now, I have a strategy I can easily use to help me understand and remember complex ideas. This gives me confidence when it comes to learning new skills and information.
I encourage you to be playful with this strategy. Don’t get too hung up on how your drawings look. Your top priority is to leave perfectionism at the door and have some fun. Because when it comes to mind mapping, done is better than perfect.
Research shows active recall (aka retrieval practice) is a highly effective strategy for remembering information. This strategy will take your studies and your grades to the next level.
Active recall involves bringing information to mind without looking at your books and notes.
I have spent the last 30 days experimenting with this excellent learning strategy. In this blog, I’ll share what I did and how I kept the process interesting for my brain.
I no longer need to study for tests and exams.
So, why did I spend 30 days using active recall strategies?
In my line of work, I need to constantly come up with new and original content to present to students. I also need to memorise this content. Why?
Because if I was to read from a sheet of notes or text heavy slides that would be really boring for students. I want to connect with students and to do this, I have to be able to deliver the content off the top of my head with speed and ease.
This is where active recall enters the picture.
Active recall helps to speed up the learning process. It allows you to learn more in less time.
Below I share some of the ways I use active recall to learn new presentation content. Keep in mind, you can use all of these strategies to prepare for an upcoming test or exam.
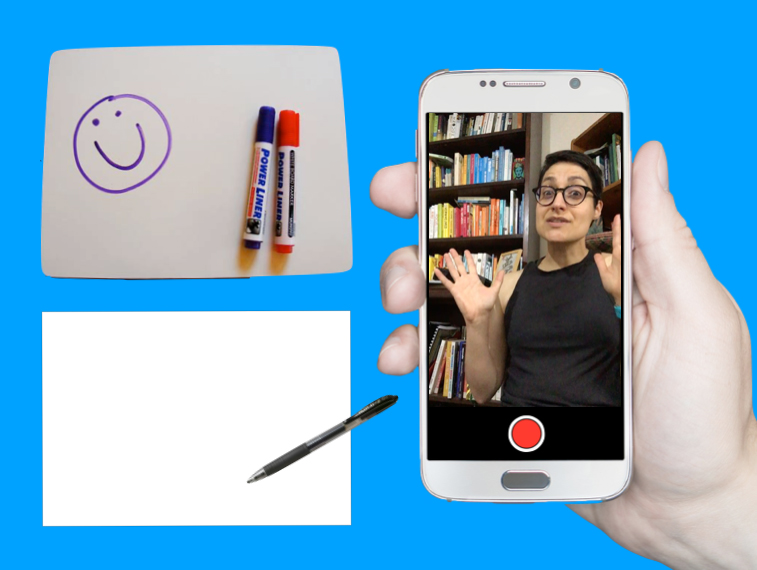
Whiteboards are wonderful learning tools. Here’s how I use a whiteboard to do active recall . . .
I push my speech notes to the side, so I can’t look at them. Then I grab a marker and say to myself, “What can you remember? Go!”.
I write out everything I can remember on the whiteboard. Once I’ve exhausted my memory, I pick up my notes and check to see how I went (using a red marker to make corrections).
No whiteboard? No problem!
I pick up a pen and sheet of paper and start scribbling out whatever I can remember on the topic. When I get stuck, I pause and take a few deep breaths as I try to scan my brain for the information.
I regularly remind myself that it is okay to not remember the content. “This is how the process goes!”, I say to myself. There is no point beating myself up. That only leads to feelings of misery and not wanting to do active recall practice.
After having a shot at it, I take out my notes, pick up a red pen, and begin the process of checking to see how I went.
Sick of writing? I get it.
Try drawing out the information instead. Alternatively, you can use a combination of words and pictures, which is what I often do.
Grab a blank piece of paper (A3 size is best) and create a mind map of everything you can remember on a topic (no peeking at your notes). Then check your notes or the original mind map to see what you remembered correctly and incorrectly.
Writing and drawing out information can take time. If you want to speed up the process, you can talk to yourself.

But don’t do this in your head. It’s too easy to just say “Yeah, yeah, I know this stuff!”. You need to speak it out loud as this forces you to have a complete thought. Then, check your notes to see how you went.
The only downside with this approach is you don’t have a tangible record of what you recalled, which brings me to the next strategy . . .
I make videos of myself presenting the content (without referring to my notes). Although I use special software and tools to make my videos, you don’t need any fancy equipment. Your phone will do the job. Here’s what you can do . . .
Set your phone up so the camera is facing you. Now hit the record button and tell the camera what you’re going to do active recall on. Have a shot at explaining the idea. Then stop recording and hit the play button.

Watching yourself struggle to remember information is often hard viewing. But this is where it’s super important to double down on telling yourself kind thoughts (e.g., “I’m still learning this content. It’s going to be rusty and feel clunky – that’s okay!”).
You need to take a deep breath and keep watching because the video will give you valuable feedback.
For example, if you stop midsentence and you don’t know how to proceed, that tells you something: you don’t know this stuff so well! Make a note. This part of the content needs your attention.
Hand your notes over to a friend, parent, or sibling. Now get them to ask you questions on the content.
I sat with my mum and showed her a print out of my slides for a new presentation. The slides were just pictures (no text).
As I went through the slides, I explained the ideas to mum. I made notes of any sections I was rusty on. Mum also asked lots of questions, which allowed me to think more deeply about the content.
When it came crunch time (a few days before the final presentation), I printed out my presentation slides (16 per page) and used each slide as a prompt. I’d look at the slide and say, “What do I need to say here?”.

Sometimes I wrote out what I’d be saying in relation to each slide (without looking at my notes). Then I checked my original notes to make sure I hadn’t forgotten anything.
It’s really important that you don’t skip the stage of checking to see how you went, especially as you become more confident with the content.
At times, I found myself thinking “I know this stuff! I don’t need to check my notes” but then another part would say, “You better just check . . . just to be on the safe side”.
I’m glad I forced myself to check because more often than not I would discover that I had missed a crucial point.
Zines are cute little booklets you can create on any topic you like. They are fun to make, so I thought I’d try making a mini zine on the main points of some new content I had to learn.
I folded up an A4 page into a booklet and then I sketched out the main points on each panel.
I create a deck of flashcards on some key ideas (question on one side and the answer on the back) and then I test myself with them.
I read the question and before flipping the card, I write out the answer on a sheet of paper or say it out loud. Then I check to see how I went.
The beauty of flashcards is they are small and portable (they can easily fit in your pocket or bag). Whenever you have a spare minute or two, you can get a little active recall practice in.
It’s not enough to do active recall just once on the content you need to learn. For best results, you want to practice recalling the information several times over a period of time.
I didn’t follow a strict schedule for the 30 days. I had my notes for each important chunk of information I had to learn pinned to eight different clipboards.
Every morning, I’d pick up a different clipboard and I’d practice that specific content. I knew as long as I’d had a good night’s sleep in between practice sessions that the information was being strengthened in my brain.
Doing active recall is a bit like doing a high intensity workout: it can be exhausting. But you must remember, just like a high intensity exercise session is an effective way to train and get fit, active recall is an effective way to learn. Unlike less effective strategies (e.g., rereading and highlighting), you can learn a lot in a short space of time with active recall.
The key is to expect the process to be a little uncomfortable. Don’t fight the discomfort. If you trust the process and persevere, it won’t be long before you begin to see amazing results.
Just because active recall is challenging to do that doesn’t mean you can’t have fun with it.
Using a combination of different active recall strategies is one way to keep things fresh and interesting for your brain. But you may wish to try the following things to add a little boost of fun to your active recall sessions:
• Use a different type of pen
• Use a different coloured pen
• Change the type of paper or notebook you use (e.g., instead of using lined paper, use blank A3 paper)
• Incorporate movement into your active recall sessions (e.g., walk and test yourself with some flashcards)
• Change your study environment (e.g., go to the library or study outside)

Like I said, active recall is challenging to do, especially when you first start learning new content. You can feel awkward and clumsy. For this reason, it’s easy to make excuses to get out of doing it (e.g., “I’m too tired”, “I’m not ready to do it”, and “It’s not the right time”).
This is where you need to harness the power of habits.
Find a set time in your day to do a little active recall practice. For instance, during my 30 days of active recall, I scheduled my practice sessions for first thing in the morning. I knew after I washed my face, I would sit down to practice.
Incorporating active recall into my morning routine worked really well for me. I was getting the hardest thing done first thing in the day. And once it was done, I could relax. It was done and dusted!
At a certain point, I became more confident with the content and I found I was on a roll. I felt motivated to do active recall.
This is when I started to look for spare moments in the day to squeeze in a few extra mini practice sessions.
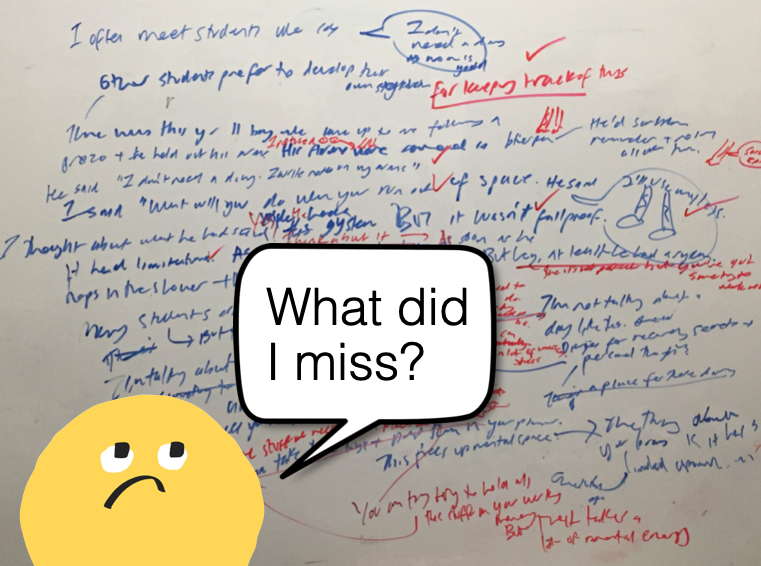
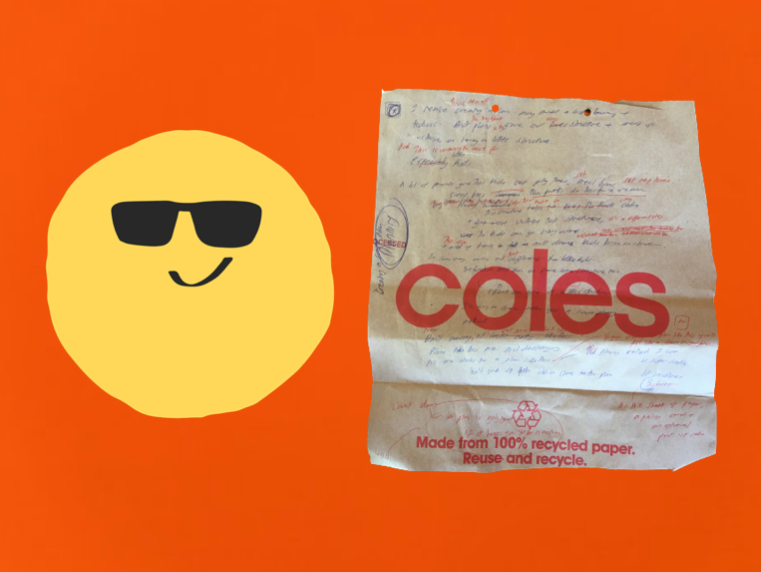
For example, one day I found myself waiting in a car. I grabbed a paper shopping bag and started scribbling out the content onto the bag. As soon as I got home, I checked the shopping bag against my notes.
I hope you can see that there’s no one set way to do active recall. This is a highly effective strategy you can be creative with. As long as you’re testing yourself and checking to see how you went, you can’t go wrong.
And if you do make a mistake? It’s no big deal. If you check to see how you went, you won’t embed the error in your long-term memory.

This means you need to prepare yourself mentally and physically for them.
You can work so hard to memorise large quantities of information for an exam, but if you’re not mentally and physically prepared, all that hard work can sadly go to waste.
When it comes time to take your exams, you have to relate to yourself as a professional athlete. Leading up to the day of the big performance (i.e. the exam), you need to eat nutritious food, be in the right frame of mind, manage your nerves, and allow your body to rest. These simple things can make all the difference to your exam performance.
You may be thinking “But isn’t this just common sense?”
It is! But creating healthy habits takes time and practice.
It’s one thing to intellectually know you should be eating well but it’s another thing altogether to incorporate healthy meals and snacks into your lifestyle.
I see a lot of students drinking energy drinks, getting very little sleep, and eating highly processed foods in the days leading up to exams. I have to admit, there was a time when I engaged in these behaviours too. I can tell you from personal experience, this is a recipe for mediocre grades and a miserable existence.
Here are my top 10 tips to prevent burnout and boost exam performance:
Sleep is critical to the learning process, exam performance, and wellbeing. Yet it’s usually the first thing students sacrifice to get more study done.
If you miss two hours of sleep each night for a week, the cognitive effects are as bad as going without sleep for two days straight!
Studies have also found that if you stay awake for 18 hours straight that’s like having a blood alcohol level of 0.05. In other words, it’s like being legally drunk. Your ability to focus, think, and learn will be seriously impaired.
You can’t adapt to getting less sleep. As adolescents, you need about 9-10 hours of sleep per night to be as alert as possible when you wake up.
If that feels unachievable, try to just get an extra 15 minutes of sleep tonight. Gradually increase this each night until you reach your target.
Often students stop exercising when they start preparing for exams. They think “I don’t have time to exercise!”. It’s as if they think they must spend every moment studying. Don’t fall into this trap.
Movement is your friend when it comes to studying for exams.
Research shows engaging in regular physical movement will help you to study more effectively. Firstly, it’s a great way to relieve stress and release feel good chemicals. Secondly, it gets the blood flowing more efficiently to your brain, which can give you a cognitive boost.
One study found students who engaged in 5 minute movement breaks every 17 minutes during a lecture retained more information and could focus better.
Every time you engage in a short movement break, you’re enhancing your study sessions.
Research has found that students who skip breakfast experience a decrease in cognitive performance and alertness compared to students who eat breakfast.
Eating a nutritious breakfast will give you a cognitive boost before an exam. It will also help you to feel fuller for longer, stabilise your mood, and give you plenty of energy to get through the exam.
Here are some healthy breakfast ideas:
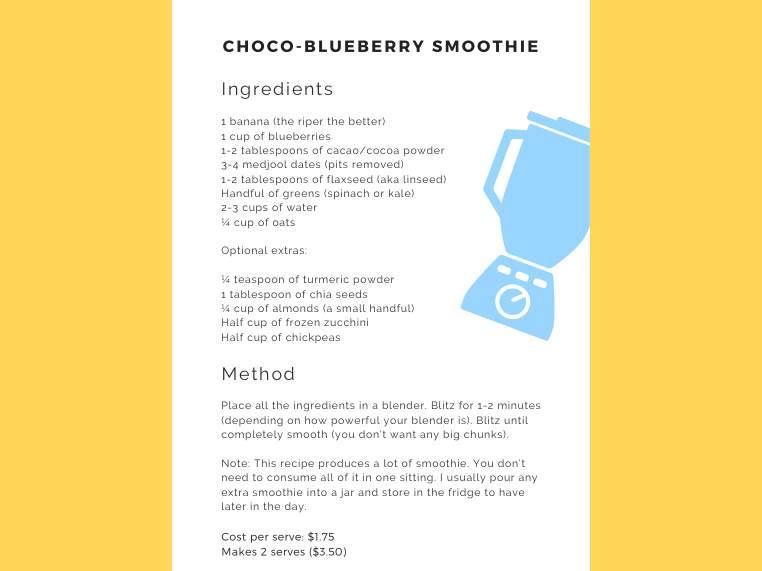
Muesli or porridge with nuts and fresh fruit (e.g., berries) Wholemeal toast with a variety of toppings (e.g., baked beans, tomatoes, and avocado) and a piece of fruit A healthy homemade smoothie (click here for my brain boosting smoothie recipe)
Your brain requires adequate hydration to function properly. Drinking water ensures that your brain receives the necessary fluids to perform tasks efficiently, such as retaining information and problem-solving.
Take regular sips of water as you study. It’s a good idea to have a glass of water or a reusable drink bottle within arms reach.
You may even want to create a tiny habit to remind yourself to engage in this simple behaviour (e.g., “After I finish answering a practice exam question, I will take a sip of water”).
Many years ago, I started thinking that my teachers and lecturers were out to get me. I thought they would mark me down wherever they got the chance. As a result of this distorted thinking, I became too scared to write anything in one of my first tests at law school. After receiving a terrible grade (5%), my brother said to me:
“Remember sis, your teachers want you to do well. They will try to give you marks wherever they can. It’s in their best interest to do so.”
Don’t worry about writing a perfect answer. If you’re unsure, be brave and still write something down. Even if it’s just a few dot points, it’s better than nothing. You may not get any marks for it, but your teachers won’t take marks off.
Just remember, most of the time your teachers are on your side and they want you to succeed. When you do well, it makes them look good.
Chances are there will always be something that you could have studied more thoroughly come the day of your exam. But on the morning of an exam, you can’t do much about that, so there’s no point worrying. Worrying will just deplete your finite energy, which you need to conserve for the exam.
Instead of worrying, try saying this to yourself before each exam:
“I now know so much more than I did before. I’ll be able to answer many questions in this exam.”
Telling yourself this positive micro-thought will allow you to enter the exam in a calm and confident frame of mind.
It’s normal to feel a bit nervous before an exam. But there are certain things and people that can push your anxiety levels into dangerous territory and impair your exam performance.
For example, coffee and energy drinks will skyrocket your stress levels. Similarly, hanging out with people who have a lot of nervous energy and are venting about the exam (“I’m going to fail!” and “I hardly studied!”) are going to leave you feeling distracted and a little jangled.
Before the exam, do your best to isolate yourself from these people. If you’re worried about offending someone who is venting to you, you could say “I’m sorry but I really need to do some last minute cramming”. Then proceed to pull out your notes and pretend to read them.
How many times have you stayed back after an exam to talk to your friends about what you put for each question? Have you ever felt terrible after doing this?
It can be reassuring to know that you wrote the same answer as your friends. But if you find out that you wrote something completely different, you may start to second guess yourself. If you have another four or five exams to go, this may throw you off your game.
This is why I don’t recommend engaging in a postmortem of the exam until you get your results/exam paper back.
When you walk out of the exam room, tell yourself:
“That exam is over. There’s nothing I can do to change how I went. It’s time to move on!”.
You could imagine yourself locking the exam in a box and throwing it off a cliff or rolling it up and stuffing it in a bottle and throwing it out to sea. The point is you need to mentally disconnect from that exam and focus on studying for the next one.

If you come across a question that you’re not sure how to answer, stop for a moment and take a few deep breaths (in for the count of 4 and out for the count of 4).
A simple breath activity you can try is the Box Breathing Technique. This involves imagining yourself breathing along the sides of a box (breathing in for the count of four on one side, out for the count of four on the next side, etc). Repeat this 2-3 times. Then take a look at the question again.
If you are still unsure how to answer the question, move on to another question.
The worst thing you can do is panic (remember, stress impairs your ability to think and recall information).
By engaging in Box Breathing, you can help yourself to remain in a calm and stable state.
Many of us are familiar with writer’s cramp. This can be caused by gripping onto your pen too tightly. Try loosening your grip a little.
Alternatively, experiment with a range of different pens. Some biros require you to press down hard on the page to make a mark, but not gel pens. The ink just flows onto the page!
The reality is, even with a good gel pen, your elbow will start to hurt at some point if you’re taking a 3 hour exam. When it does start to hurt, have a rest for a few seconds (yes, you have time to do this). Stretch your arm out. Shake it a little.
Treat each exam like a mountain hike rather than a 100 metre sprint. Resting for a few moments here and there will be time well spent and will enhance your overall performance.
These simple strategies can help to elevate your exam performance. My advice is to start small. Even if your exams are several weeks away, select one or two of these ideas and start testing them out today. At first, the strategies will require a bit of mental effort. But like anything in life, if you persevere they’ll become second nature to you and they’ll just be things you do without even thinking.
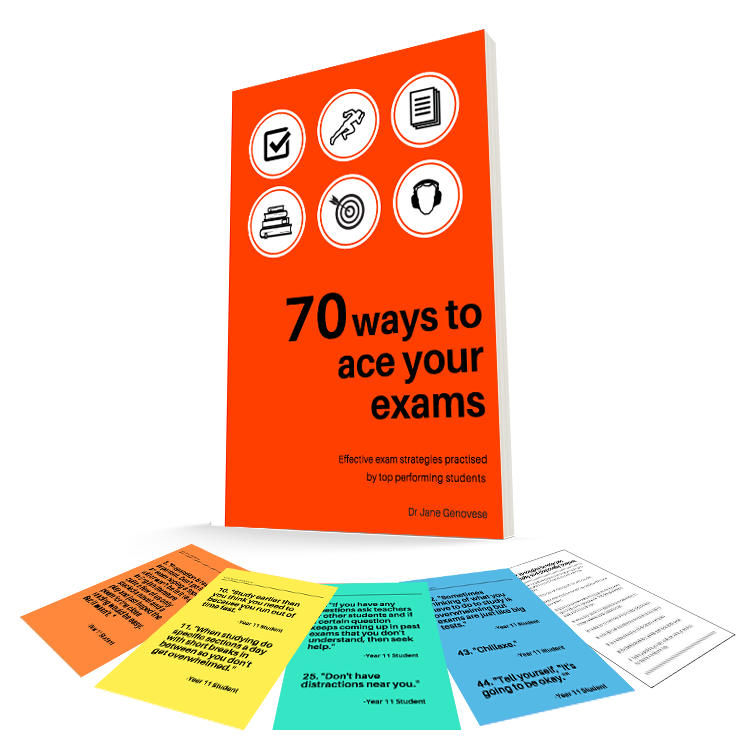
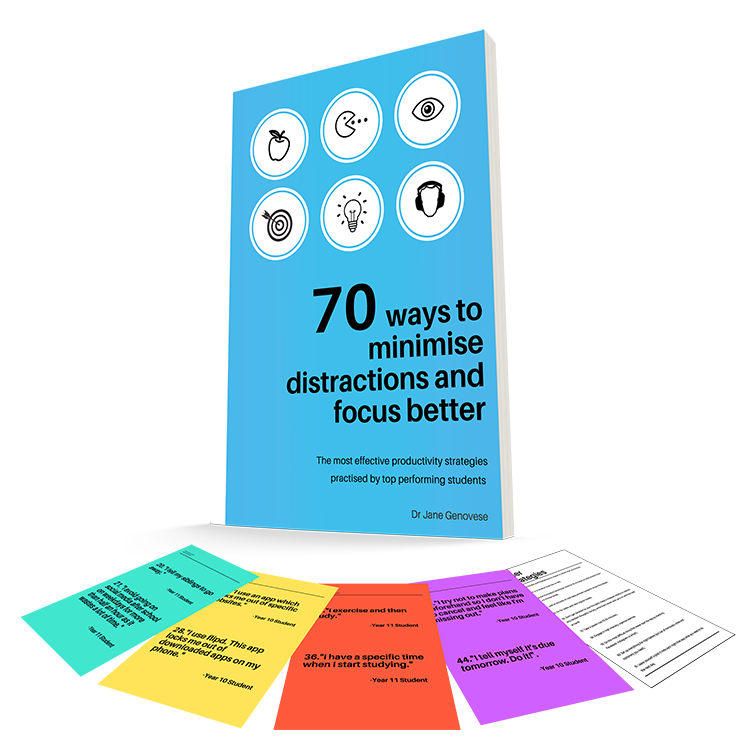
Want to learn more exam strategies? Click here to download a free copy of 70 ways to ace your exams.