 If I asked you to draw a picture of a chicken what would your reaction be? “No way, I can’t draw” or “Sure, no problem!”?
Many people I work with have a black and white view when it comes to drawing. They think they either can or can’t draw.
For this reason, teaching any form of visual note-taking to students, such as mind mapping, is often accompanied with loud groans and much resistance.
“My teacher already taught me this”, “Oh no, anything but mind mapping!” and “I can’t draw for *#$%!” they say with distressed looks on their faces.
What students often fail to realise is this – you don’t need to be good at drawing to take visual notes. All you can manage are stick figures? Stress less. This is actually a great place to start.
Here’s the thing: any picture is better than no picture when it comes to taking notes. Why? Well, research demonstrates that students that draw pictures when they learn retain 30% more information than students that don’t draw pictures.
So you can relax. Your pictures don’t need to be perfect. As long as you can understand them that’s all that matters.
Which means that even simple, rough pictures are fine. But if you’re not satisfied with your stick figures, the good news is you can improve your drawings and it doesn’t have to take you years of hard work and practice.
Don’t get me wrong, practice can make you really good at pretty much anything (drawing included). Take my friend Sharon for example. She’s been drawing since the age of 3 and slogged away at art school and as a children’s illustrator for many years. Now, she whips out fun, little drawings at amazing speeds with ease whilst watching television. She regularly reminds me –
“The more you draw, the better you’ll get”.
But let’s say you want to improve your drawing skills and don’t have years to devote to this activity like my friend Sharon did. How can you fast track your drawing skills and take them to the next level?
There are some amazing resources out there that show you how to draw the basics and the basics are all you really need if your taking visual notes for subjects like law, psychology, environmental science or history.
So if you’re keen to progress from drawing stick figures, I highly recommend exploring the following useful resources –
 Make a world by Ed Emberley: This classic book shows you how to draw almost anything in a number of simple steps. Ed Emberley states that if you can draw some basic shapes (e.g. a triangle, circle and square) then you have what it takes to draw all the pictures in his book (and there are dozens) – horses jumping, Vikings, pirate flags, camels, etc.
Austin Kleon’s Blog: Austin Kleon is a poet with a difference (he takes newspaper articles and blacks out the words he doesn’t want with a thick black marker to create his poems). He’s also an awesome visual note taker to boot. He has taken visual notes for conferences and written several blog posts on visual note-taking. Check out a collection of his blog posts on this topic here.
Visual Note Taking 101: A group of visual note-taking gurus (Austin Kleon, Mike Rohde, Sunni Brown and Dave Gray) spoke at a conference on the basics of visual note-taking. The audio was recorded, synced with the slides they used on the day and uploaded online. Whilst it’s a bit slow to get into and a fair bit is lost by not being able to see these people speak, there is gold in this 58 minute session. It’s well worth seeing samples of their visual notes and hearing their tips.
Whether it was a teacher or a school student that told you couldn’t draw, you shouldn’t let those conversations stop you from taking visual notes in your classes. It’s actually a lot of fun. And what we know from the psychology of learning is that:
Fun = Greater understanding + retention of information = Better grades
When you start using this strategy, it can feel clunky and awkward. It requires some mental effort to get going.
Why can it feel hard to start mind mapping?
Because it isn’t a habit (not yet, anyway). But once mind mapping becomes a habit, it can feel easy and deeply rewarding.
So, how do you get to that point where mind mapping feels easy? Even fun?
In this article, I will explore how you can create a habit of mind mapping. I’ll show you how to remove friction or pain points so it’s much easier to put pen to paper and absorb ideas.
Let’s start by looking at what gets in the way and stops many people from creating mind maps in the first place. I’ll also share some strategies you can use to overcome each of these barriers.

When you look at a mind map with all the pictures and different colours, it seems like something that would take a fair amount of time and effort to create.
If you’re comparing mind mapping to the time it takes to read your book passively, then yes, mind mapping will take more time. But you need to understand that reading your book passively is not an effective way to learn. In contrast, mind mapping is super effective.
People often fall into the trap of trying to make their mind maps look like works of art. Try lowering your standards and allowing yourself to make a mess when you mind map. This will speed up the process.
Another time trap is trying to mind map as you read and trying to mind map everything you read. I find it’s much faster to read and tab key ideas worth mind mapping later on. Once I’ve finished reading either the chapter or book, I then commence the mind mapping process. By this stage, I have a better understanding of the key ideas and what’s worth mind mapping.
Some people get hung up on the way their mind maps look. They can’t stand looking at messy pictures and scribbled words. If that’s you, perhaps you could take your drawing skills to the next level with some practice and sketch classes. But it’s not necessary.
Mind maps are not there to look pretty. They are there to help you learn. I am a big fan of badly drawn mind maps. If you look at my mind maps from university, they’re not works of art but they contain loads of important ideas. And that’s what matters most when it comes to learning.
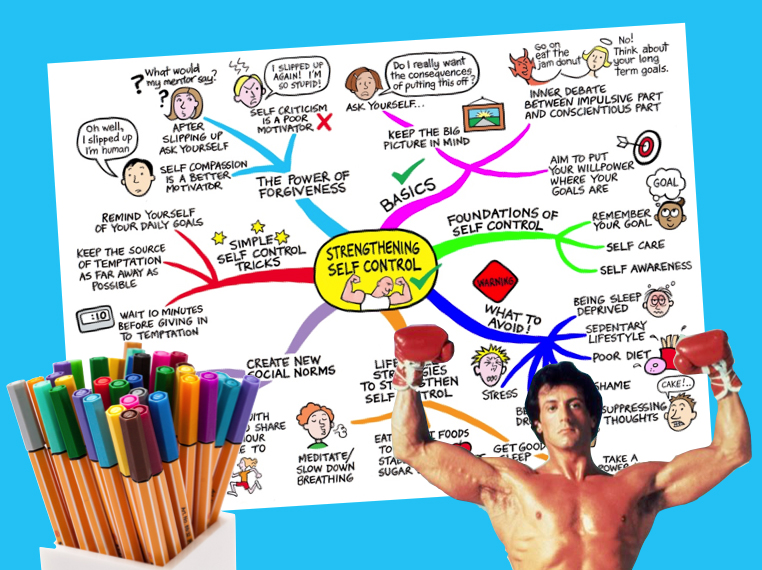
Here’s a simple hack: invest in a set of nice, vibrant coloured pens. A bit of colour on the page will make your mind maps more visually appealing.

Mind mapping is straightforward. You draw a central image, curved lines, a few pictures, and write down key ideas. That’s it!
It’s not something you need to read a book about. You don’t need to enrol in a 10 week program to learn how to do this.
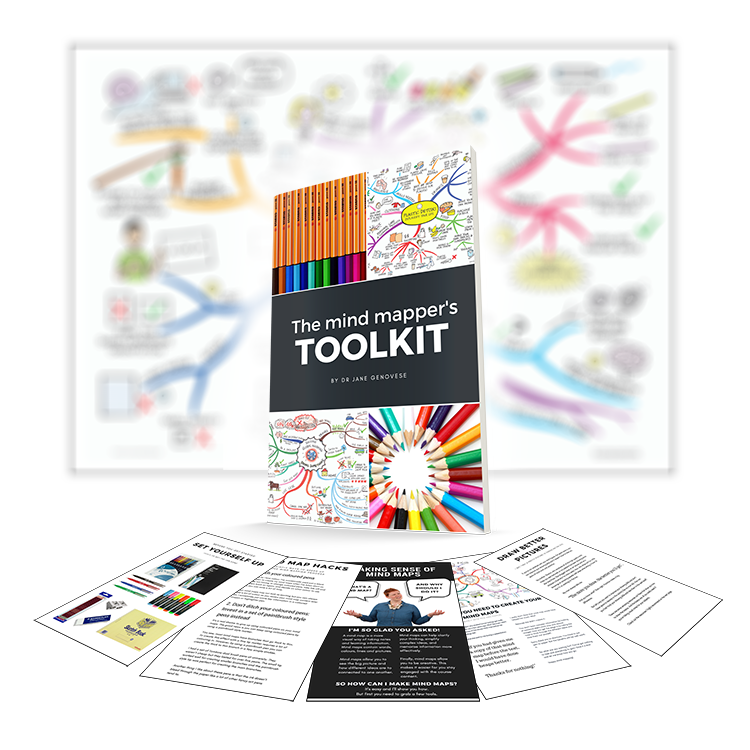
If you want some tips on how to mind map, check out my free Mind Mapper’s Toolkit. It’s a quick and easy read.
It’s important to realise that the first time you engage in any new behaviour, it will most likely feel strange and uncomfortable. You may feel a bit clumsy and awkward. You may have questions, “Am I doing this right?”. All of this is normal and to be expected.
Even something as simple as the pen you mind map with can make or break the mind mapping process.
You’ve probably noticed that some pens don’t feel pleasant to write or draw with. For instance, I’m not a fan of the popular Sharpie pen range. I don’t like the way these pens bleed through the page. And I really don’t like the way they smell.
These may seem like minor irritations and quirks, but trust me, they’re not. Your mind mapping experience will be diminished by a pen that doesn’t feel good in your hand or on the page. And any behaviour that feels unpleasant is much harder to sustain.
I’ve since ditched my Sharpie pens. I mind map with a uniball signo pen and non-toxic Tombow paintbrush pens. As far as coloured pens go, I won’t lie, these pens are pricey! But you can find them online for $25 cheaper than in Officeworks (a big stationery store in Australia).
What I love about these pens is that they are super easy to use, feel lovely to strike across the page, and they won’t leave you with a splitting headache from the ink smell.
Here are some things that have helped me to establish this habit in my life:
When is the best time for you to mind map? Where in your day can you easily slot in a 15 minute mind mapping session?
I like to mind map when I feel fresh and mentally alert (first thing in the morning).
Find an activity that you do every day without fail (e.g., having a shower, eating breakfast or dinner) and use that to prompt you to start a mind mapping session.
For instance, after I have completed my morning routine (workout, breakfast and shower), that’s my cue to sit down and start mind mapping.
Before you start your session, set yourself up with everything you need to mind map. I like doing this the night before my morning mind mapping sessions.
Before I go to bed, I lay out a sheet of A3 paper, my pens, and my timer. The book I am mind mapping is open on the page where I need to start working. The next day, all I need to do is sit down, start my timer, pick up a pen, and away I go!

What’s one thing that can slow down the mind mapping process?
For me, it’s digital distractions (e.g., text messages and notifications).
You probably already know the things that tend to derail you. Create a barrier between you and those things.
For example, my phone is the biggest distraction for me. How do I deal with this? Before I start mind mapping, I take my phone and place it away from my body in another room.
This signals to my brain that my phone is off-limits and it’s time to knuckle down and focus on my work.

Don’t wait until you feel pumped and inspired to create a mind map. Set a timer for 10-15 minutes and start mind mapping (regardless of how you feel).
If you miss a day, don’t beat yourself up. It’s no big deal. Just say to yourself, “Tomorrow is a new day. I will get back into mind mapping then”.

When the timer goes off at the end of your mind mapping session, say to yourself, “Good job!”. Do anything that makes you feel instantly good. I often clap my hands or do a fist pump.
According to Professor BJ Fogg, the secret to wiring in any new habit is to release a positive emotion within milliseconds of engaging in the new behaviour. When you release positive emotions, this releases dopamine in your brain. This makes it more likely that you’ll engage in this behaviour again.

I mentioned this before, but it’s important to repeat it: don’t go cheap with your mind mapping tools. Invest in good pens and paper. My favourite pens for mind mapping are uniball signo pens (0.7 tip) and Tombow paintbrush pens. Regarding paper, I love using Rhodia paper (it feels like your mind mapping on butter).
It may sound a little dramatic, but mind mapping changed my life. I used to read books and then feel frustrated that I couldn’t retain much information. But now, I have a strategy I can easily use to help me understand and remember complex ideas. This gives me confidence when it comes to learning new skills and information.
I encourage you to be playful with this strategy. Don’t get too hung up on how your drawings look. Your top priority is to leave perfectionism at the door and have some fun. Because when it comes to mind mapping, done is better than perfect.
This is no accident. This is a deliberate design decision.
It’s the same reason why fast food logos are often warm reds, yellows, and orange tones. These colours jump out at us. They create a sense of excitement and urgency.
In his book Drunk Tank Pink, Dr Adam Alter argues colour is a hidden force in our lives that can shape the way we think, feel, and behave.

In this blog, I’m going to explore how you can use colour as a tool to help you study more effectively and keep your brain focused and engaged on the task at hand.
There is whole field of research dedicated to exploring the impact of different colours.
One fascinating study looked at the impact of a particular tone of pink (Baker-Miller Pink/Drunk Tank Pink) that appeared to sap people of their energy. Researcher Dr Alexander Schauss found staring at this shade of pink could lower people’s heart rate and pulse compared to staring at other colours.
A 7-month trial was conducted in which prison confinement cells were painted in this pink shade. According to Dr Schauss, when people were exposed for just 15 minutes to this pink colour in their prison cell, it made them more relaxed, less aggressive, and reduced the incidence of violent behaviour.
But before you race off to the hardware store to buy a tin of pink paint, you need to understand a few simple things about the psychology of colour.
The research suggests that colour can act as a powerful trigger. It can cue different emotions, thoughts, and behaviours. For instance, when you see a red Stop Sign or light, this captures your attention.
But how we react to colour also comes down to personal preference and particular contexts. Colour can have different meanings in different contexts (e.g., on Valentine’s Day red generally symbolises romance rather than “Danger! Look out!”).
The bottom line is this: when it comes to colour you need to experiment to see what works for you.
Colour can evoke particular states (e.g., a state of calm or alertness). It can also perk up your brain and transform a dry, boring subject into something that’s a little bit more novel and interesting for your brain.
Below I share 9 ways you can use colour to study and work more effectively.
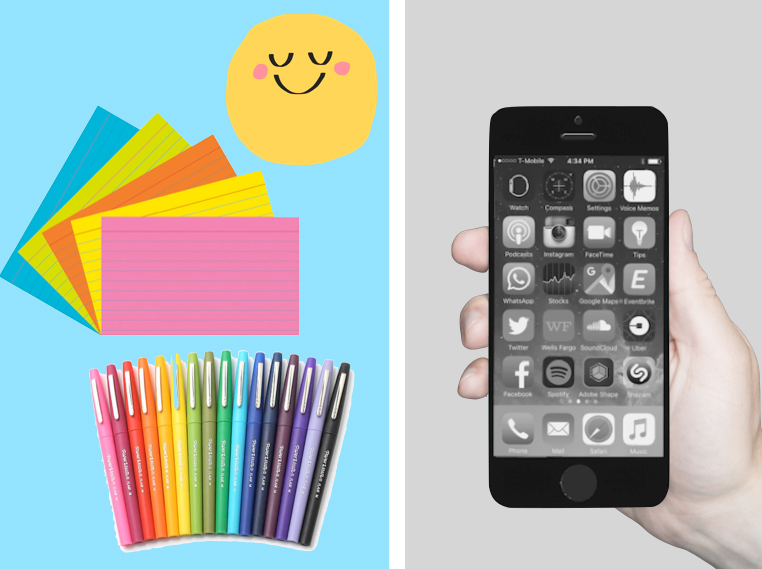
There’s something about a brightly coloured post-it note that captures our attention. This is why I love using post-it notes to help focus my mind and stay on track.
On a post-it note, I create a list of no more than three things that I need to do. Once I’ve completed those tasks, I scrunch up the post-it and throw it in the bin. This action feels surprisingly satisfying! I’ll then grab a fresh post-it note (often in a different colour) to create a new list.
If I’m not sure how to get started with a task (e.g., Task: Write blog post on colour), I’ll grab another post-it note and I’ll scribble down the first tiny action I can take to kick-start the process (e.g., Tiny action: Open Word document).
If you have trouble finding your study materials for each subject and they all look the same or are scattered all over the house, you can use colour to make it easier for you to find what you need.
Try assigning a particular colour to a subject. This makes it easier to stay organised and identify your materials. At home, I assign a light blue to my exercise files and folders. When it’s time to plan my workout for the day, I look for my light blue files and folders.
A simple and cheap way to colour code your materials without investing in brand new stationery is to gather a collection of paint swatches from your local hardware store. You can repurpose these as labels by cutting them into smaller sections and sticking them on your files, notebooks, etc.
Testing yourself with flashcards is a highly effective way to study for a test and/or exam. You can create your own flashcard decks by purchasing index cards in a range of different colours.
Try assigning certain colours to different subjects. Alternatively, you can simply pick a colour you want to work with depending on how you feel.
There are no hard and fast rules. Feel free to mix up your flashcard colours to keep things fresh for your brain.
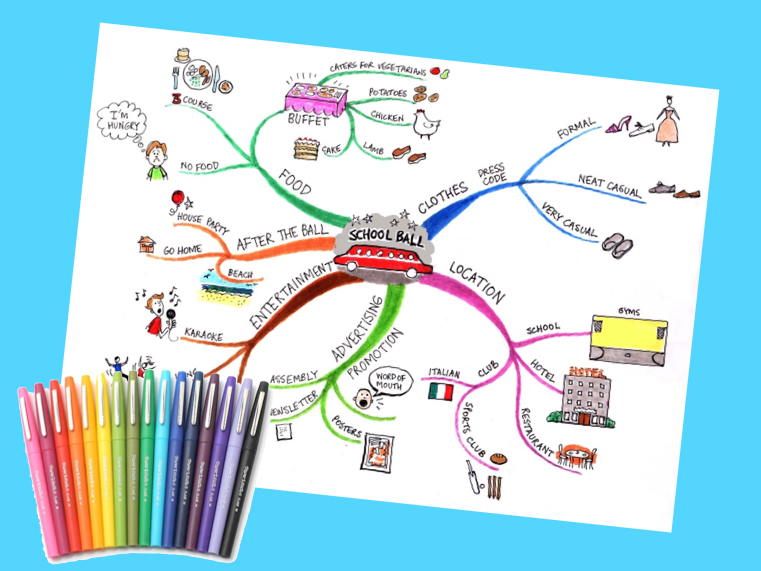
Creating a mind map on a topic is a simple way to combat study fatigue and inject a little colour and creativity into your study sessions.
Although using different coloured pens isn’t absolutely essential for mind mapping, it’s well worth doing. I use different colours to create the different branches on my mind maps.
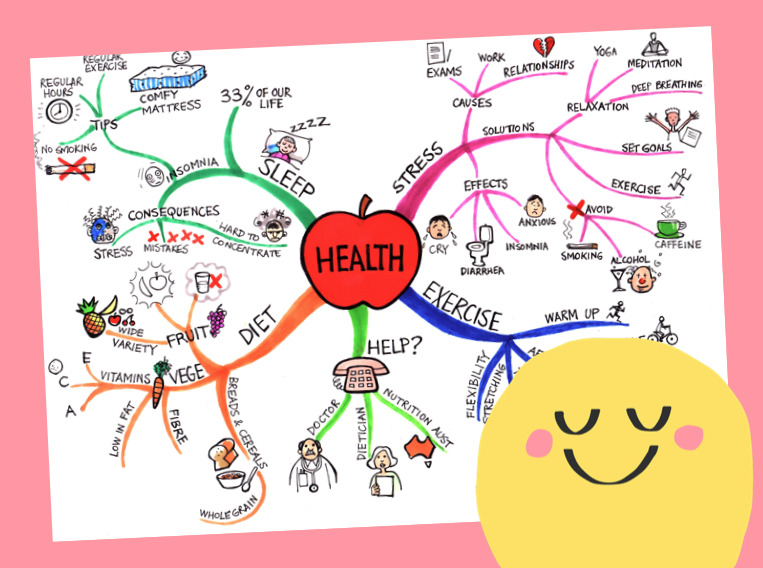
I have dozens of colourful mind maps at home. Despite my lack of drawing skills, these mind maps look great and are fun to review primarily due to the different coloured branches.
It’s important that you feel good in your study environment. If you feel good in your study space, you’re more likely to sit down and study there.
I’ve decorated my workspace by putting up colourful posters, inspiring and funny pictures, and artwork on my walls.
If you don’t have access to artwork/posters, you can print out colourful pictures and quotes of things that make you feel good. The addition of a few indoor plants can also help to liven up your space as well as purify the air.
Fluorescent highlighters feel really good to use. It can feel both fun and satisfying to strike things off your to-do list. You can also use these pens to time block different tasks/events in your diary and draw your attention to important tasks that you need to do.
Word of warning: When it comes to studying for a test or exam, I don’t recommend highlighting your books and/or notes as a way to learn. I know it feels good but research shows it’s an ineffective way to learn.
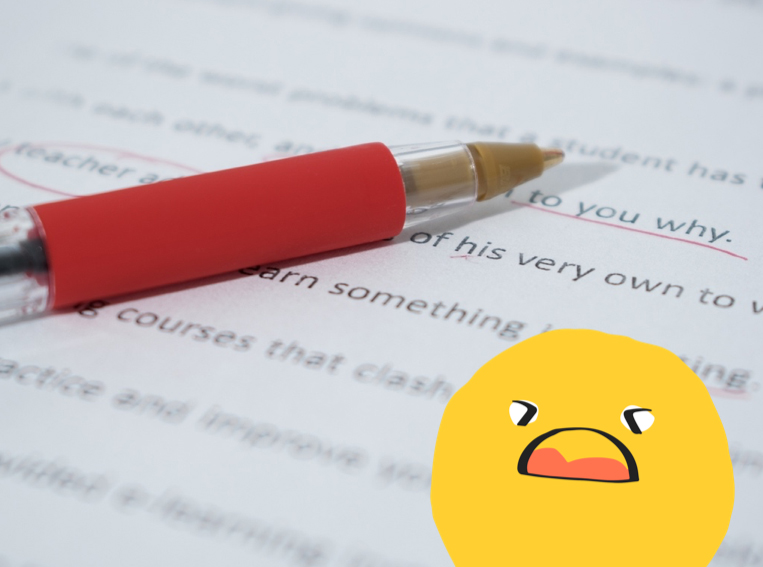
Red pen is often associated with failure and criticism. This is why seeing a teacher’s comments scribbled in red pen can trigger negative emotions in many of us.
Generally, we don’t like reading comments written by others in red pen. It feels nasty! But it turns out if you use a red pen to correct your own work, this can help you to pick up more errors.
Dr Adam Alter discusses one study that looked at the difference between using a blue pen and a red pen to correct an essay. Students who used a blue pen picked up on average 19 errors. In contrast, students using a red pen picked up an average of 24 errors.
But using a red pen has its limitations! If you are trying to solve a problem or taking a test, using a red pen can backfire by activating ‘avoidance motivation’. This is a distracting state of mind that can impair a student’s ability to solve problems and increase stress levels.
As a rule of thumb, use a blue or black pen when solving problems and taking tests. But when you need to cast a more critical eye on your work (e.g., in the proofreading phase), switch to using a red pen.
A lot of us use our phones as an easy way to escape from the boredom and discomfort we experience when doing our work. The apps on our phones are like candy. They are designed to be highly addictive and hijack our attention.
This is where you can be strategic with how you use colour: you can make your phone look more like a tool (and less like a toy) by turning on greyscale mode.
Viewing your phone in greyscale is a completely different experience to using it in full-colour mode. As a year 8 student recently shared with me:
“When I made my phone greyscale, it made it really boring to use.”
Try it and see for yourself!
This strategy may seem juvenile. If it reminds you of being back in primary school and receiving gold stars, hear me out.
Too often we don’t stop to acknowledge and appreciate ourselves for accomplishing tasks. We finish one thing and we immediately shift our focus to the next task on our to-do list.
When you work this way, your work routine can quickly become soul destroying and your motivation can take a dive.
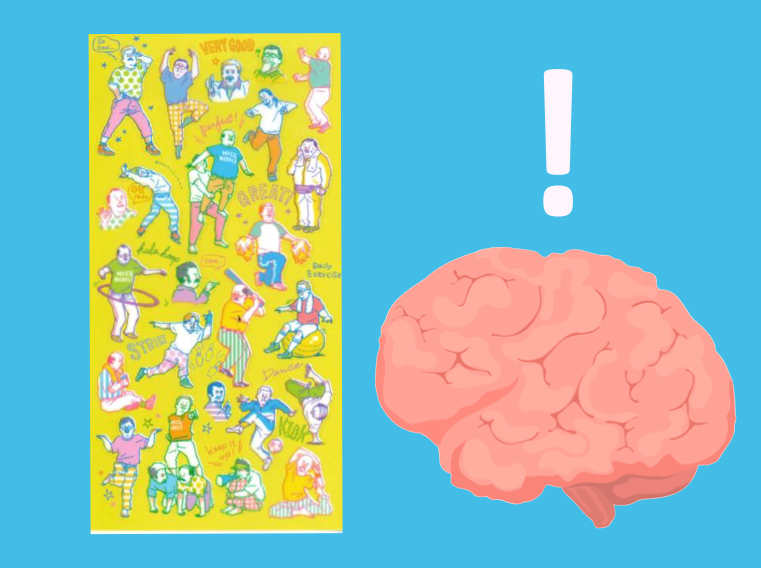
This is why every so often I pull out my fun stamps and colourful sheets of stickers. After completing a task, I pause and acknowledge what I’ve done by giving myself a stamp or a fun sticker. It’s a little celebration.
For some reason, my brain responds particularly well to quirky Japanese stickers featuring ogisan (Japanese grandfathers) exercising. We’re all different, so explore what stamps and stickers work for you.
Colours are lot of fun! Incorporating a little more colour into your studies and work life can take things to the next level and perk up your brain when it needs a little motivational boost.
But the colours that I like may not be the colours that you like. Your colour preferences may also vary from day to day. Notice the colours that make you feel good and have fun seeing how you can incorporate them into your study sessions.
The funny drawings, the colour, and creativity can transform any dry subject into something that’s interesting for the brain.
But mind mapping is also a great life strategy. You can use it to create plans, capture ideas from books, set goals, clarify your thinking, organise your finances, and work your way out of messy situations.
Below I explore some different ways you can use mind maps in your day-to-day life.

Do you ever read books and then feel frustrated when you can’t remember much from them?
This is why I mind map out every non-fiction book that I read.
I know that there are limits to my memory. If I want to be able to extract ideas and strategies from a book and apply them to my life, I’m going to need to create mind maps.
There are two ways you can mind map a book:
1) You can mind map as you read: this forces you to slow down and really think about the ideas. I highly recommended doing this if the content is really complex. But this approach can be slow going!
2) You can mind map once you’ve finished reading: I use mini post-it notes to tab key ideas as I read. Once I’ve finished reading the book, I go back and mind map out the tabbed ideas. This way I have some perspective and can identify what’s important and what’s not (rather than assuming every sentence is important and needs to be mind mapped).
After I’ve finished mind mapping the book, I select a strategy that I’ve captured on the mind map to test out.
My husband has always been amazed at how I can take ideas from books and apply them to my life. But there’s no magic to this. I’m able to use lots of different strategies because mind mapping helps me to understand and remember them.
Let’s face it, if you can’t remember a strategy, you can’t use it!

Let’s say you have a test or exam coming up. Here’s how you can use mind maps to effectively prepare . . .
Push your notes and books to the side (you can’t look at them). Now grab a blank sheet of paper. Set a timer for 5 minutes and try to create a mind map on the main ideas you can remember.
Don’t try to make these mind maps look pretty. You’ve only got 5 minutes, so scribble and draw out as much as you can remember.
Once you’ve exhausted your memory, pull out your notes and pick a different coloured pen. Take a look at your messy mind map: What did you get right? What did you get wrong? Where are the gaps in your knowledge?
This strategy is called Active Recall and it’s the most effective way to retain information. You can read more about it here.
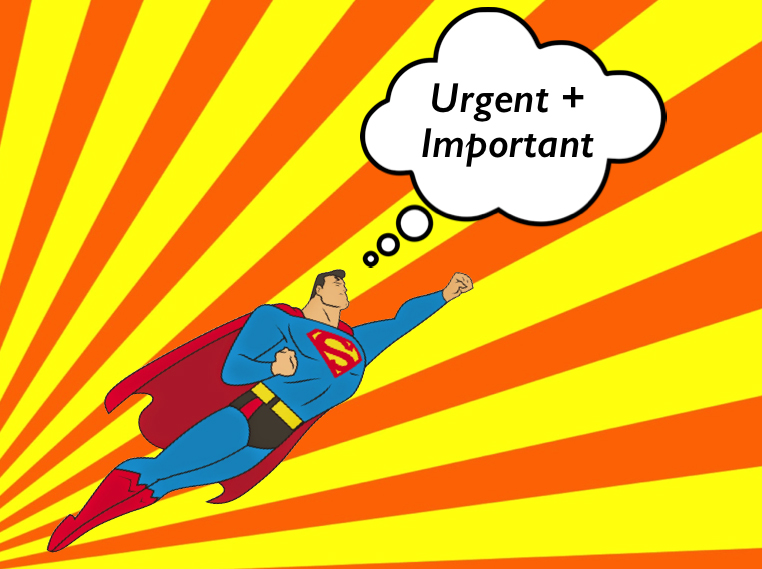
When you feel overwhelmed by life, everything can feel urgent and important. But not everything is urgent and important. A little prioritisation can save you a lot of stress and drama.
Grab a big sheet of paper, draw a circle in the middle, and write inside it Stuff to do. Now get everything out of your head and on to the page!
Once you’ve finished your mind map, look over all the tasks.
If a task is important, give it a tick.
If a task is urgent, circle it.
Focus your energy on knocking off the tasks that have ticks and circles around them (they are urgent and important).

Research shows the more connected you are to your Future Self, the more committed you will be to achieving your goals and the wiser decisions you will make in the present.
Draw a circle in the middle of page and write inside it My Future Self. You can create branches for your Future Self in:
• 3 months’ time
• 6 months’ time
• 1 year’s time
• 3 years’ time
• 5 years’ time
Then off each of these main branches, write down your goals. What do you want to have accomplished by this time?
As Dr Benjamin Hardy states in his book Be Your Future Self Now:
“The clearer you are on where you want to go, the less distracted you’ll be by endless options.”
Note: Imagining your Future Self is not an easy thing to do. We are terrible at imagining where we are going to be in the future. So, don’t overthink it. Just get some ideas down on paper. As you gain more clarity around your goals and values, you can always add extra branches to your mind map.
I’ve found mind mapping to be a fun and effective way to capture, organise, and retain information. Even if I never look at the mind map again, the process of getting ideas down on paper makes a big difference. It helps me to feel more in control and on top of things.
If you need some clarity in a particular area, stop ruminating. Pick up a pen and start mind mapping!