
Have you ever opened a big bag of crisps, told yourself you’d only have a few but ended up polishing off the entire packet?
Once you start eating anything that’s salty, full of fat and crunchy, it’s hard to stop. Trust me, I know from experience.
Salt + Fat + Crunch factor = Dangerously addictive
Potato crisps and other processed snack foods are engineered to taste good. But what tastes good and is good for industry isn’t necessarily good for us.
Think about it, have you ever seen a rotting potato crisp? A potato crisp covered in mould? Probably not. Why? Because crisps are highly processed.
As food journalist Michael Pollan says in his book Food Rules:
“The more processed a food is, the longer the shelf life, and the less nutritious it typically is. Real food is alive – and therefore it should eventually die”
So we need a healthy snack alternative.
Enter the kale chip.
When I first heard about kale chips, I’ll admit, I felt a little uneasy. Kale in its raw form can be tough and sometimes bitter. I was skeptical.
But add a little heat, some olive oil and soy sauce, and kale undergoes a complete transformation.
I’ve been perfecting the art of cooking the kale chip. Ten batches later and some advice from another kale chip enthusiast, I think I’ve finally nailed it.
Here’s how you can make your own kale chips in less than 15 minutes.
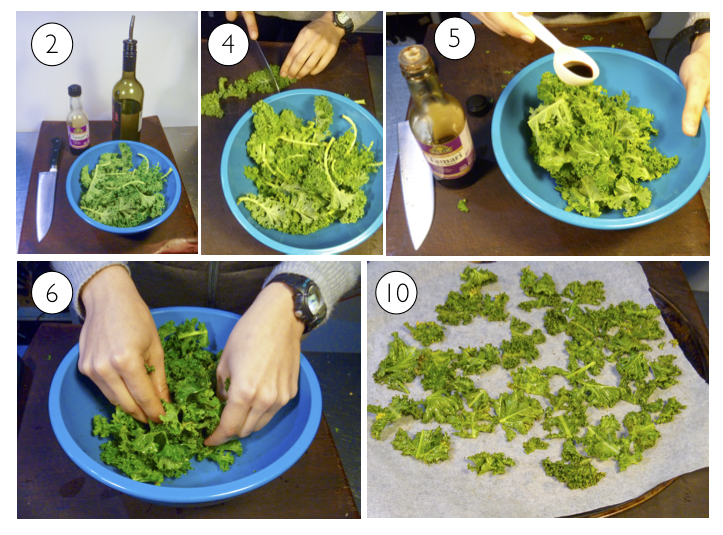
1. Turn the oven on to 180°C.
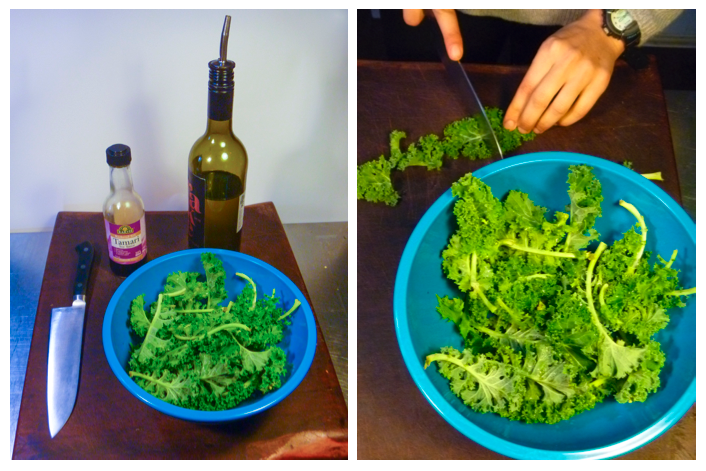
2. Now gather all your ingredients and equipment.
You’ll need the following ingredients:
A bunch of kale (I like curly green kale but any kale will do the job)
Olive oil
Soy sauce or tamari
Grab these kitchen utensils:
A chopping board
Baking tray with a sheet of baking paper
A good knife
A large bowl
3. Wash the kale. I fill up a large bowl of water and soak the kale to get any dirt off.
4. Chop your kale up into 2cm pieces.
5. Add about a tablespoon of olive oil and a splash of soy sauce.
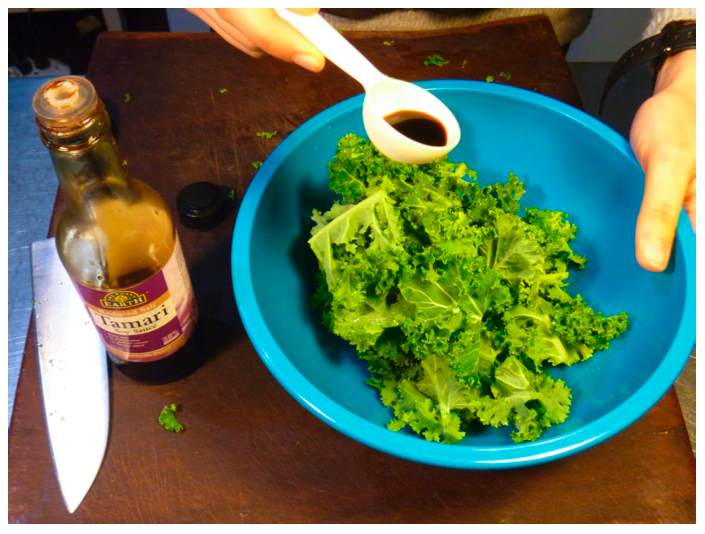
6. Now gently massage the oil and soy sauce into the kale. Don’t spend too long on this. You just want to make sure the kale is nicely coated.

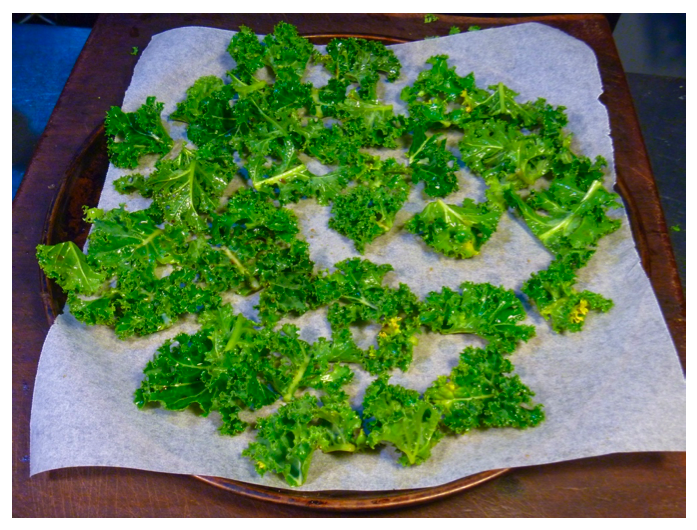
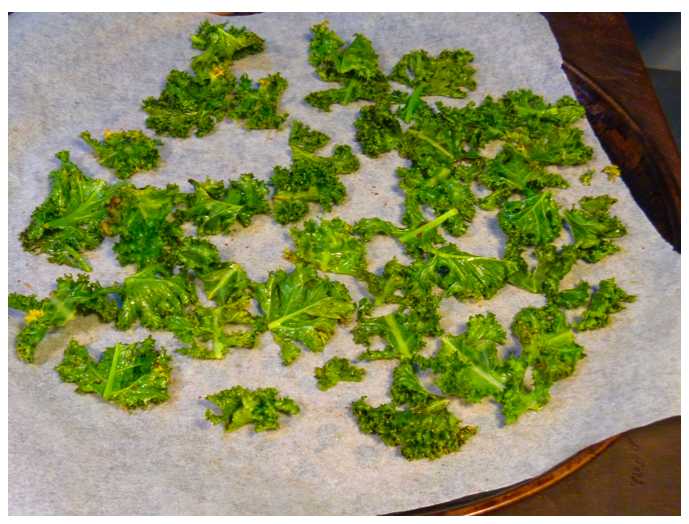
7. Lay the coated kale out evenly on a baking tray. Give them some space, otherwise they won’t crisp up nicely.
8. Put the tray of kale into the oven. Now take note: once the tray is in the oven, turn the heat off. I repeat: Turn the heat off! If the oven is too hot, the kale chips will burn to a crisp (and not a good crisp!). Set a timer for 8 minutes.
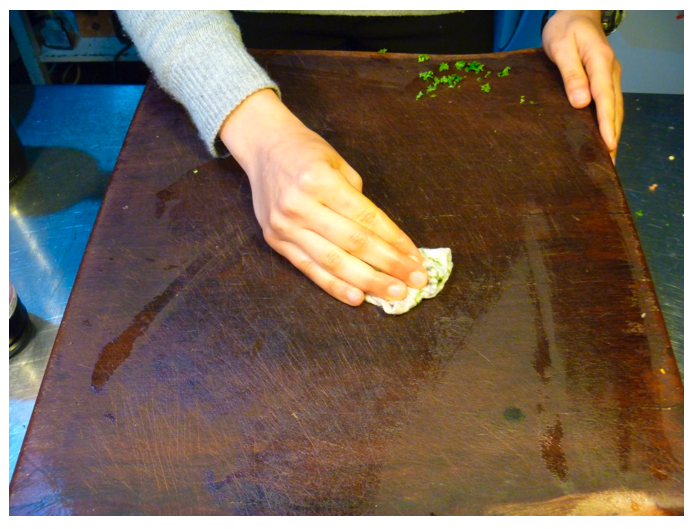
9. While your chips are cooking, now is a good time to tidy things up. Don’t be lazy. Wipe down the bench and do the dishes. Trust me, tackle the dishes now rather than later (it makes the chips taste better).
10. When the timer goes off, take the kale chips out and see if they are crispy enough for you. If they are still a little limp, put them back in the oven for another minute or two.
You need to stay focused at this point. You are so close to having a bowl of delicious kale chips, but if you leave them in there for too long they will burn!
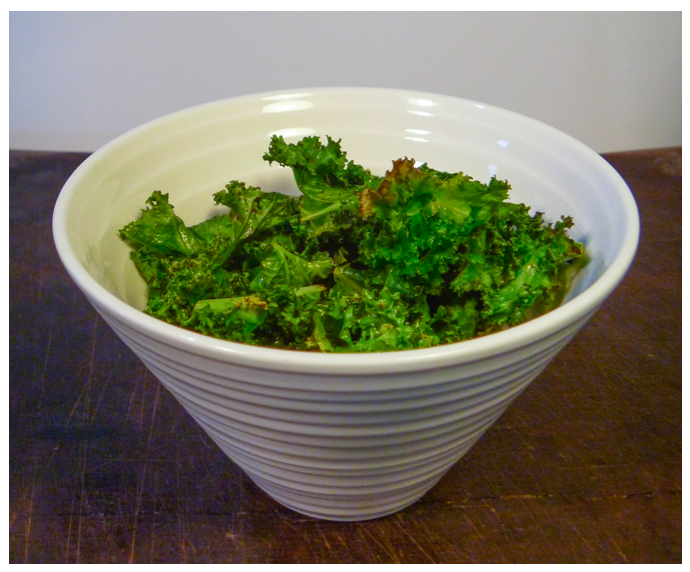
11. Pour yourself a cold beverage, put your chips in a bowl, turn up your music and enjoy!
Have you ever made kale chips? Do you have another healthy snack that you regularly make? If so, I’d love to hear what you make. Feel free to post below or send me an email with your snack ideas!
5 thoughts on “Perfecting the kale chip: A healthy snack alternative”
Woweeee looks great!
Going to try this with soy, have never done this
I use tamari Cam but soy sauce works just as well!
Let me know how you go 🙂
Jane
Thanks Jane!! I’d like to try this! ???
Give them a shot! They are super easy to make 🙂
Jane
Comments are closed.